GET SOCIAL WITH US
RECENT ARTICLES


Newsletter
Keep up-to-date with the latest promotions, news and releases!
Ear Stretching With Tapers- A Brief Guide

Ear stretching refers to the gradual stretching of your earlobes. The process typically starts with a small hole that is then widened gradually. Tapers are just tools to enable the process. An ear taper is an object with a tapered (sharp but rounded) edge that widens out into a conical shape to make the stretching easy.
In this article, we will talk about how to stretch your ears with tapers so they do not develop a blowout or injuries that may be caused by uninformed usage.
Let's dive in and understand how to do ear stretching with tapers right, avoid complications during the process, and care for the ear during that time.
Note: Many people who want to get their ears stretched often find themselves looking for ways to go back. There is a point of stretching that doesn't go back. You need to set your target and know where you need to stop if you ever think otherwise and want to go back.
Ear stretching takes time as well. If you are told to wait until you are healed to continue, you better heed that advice if you want to keep your ears safe.
With that in mind, let’s talk about ear stretching with taper kits for ears.
What is ear stretching?

Ear stretching is a form of beautification that humans have used for thousands of years to fulfill other functions, including identification. The practice is still seriously carried on by descendants of tribes that haven't been completely stripped of their heritage, including the Maa people in Kenya and the Huaorani in the Amazon.
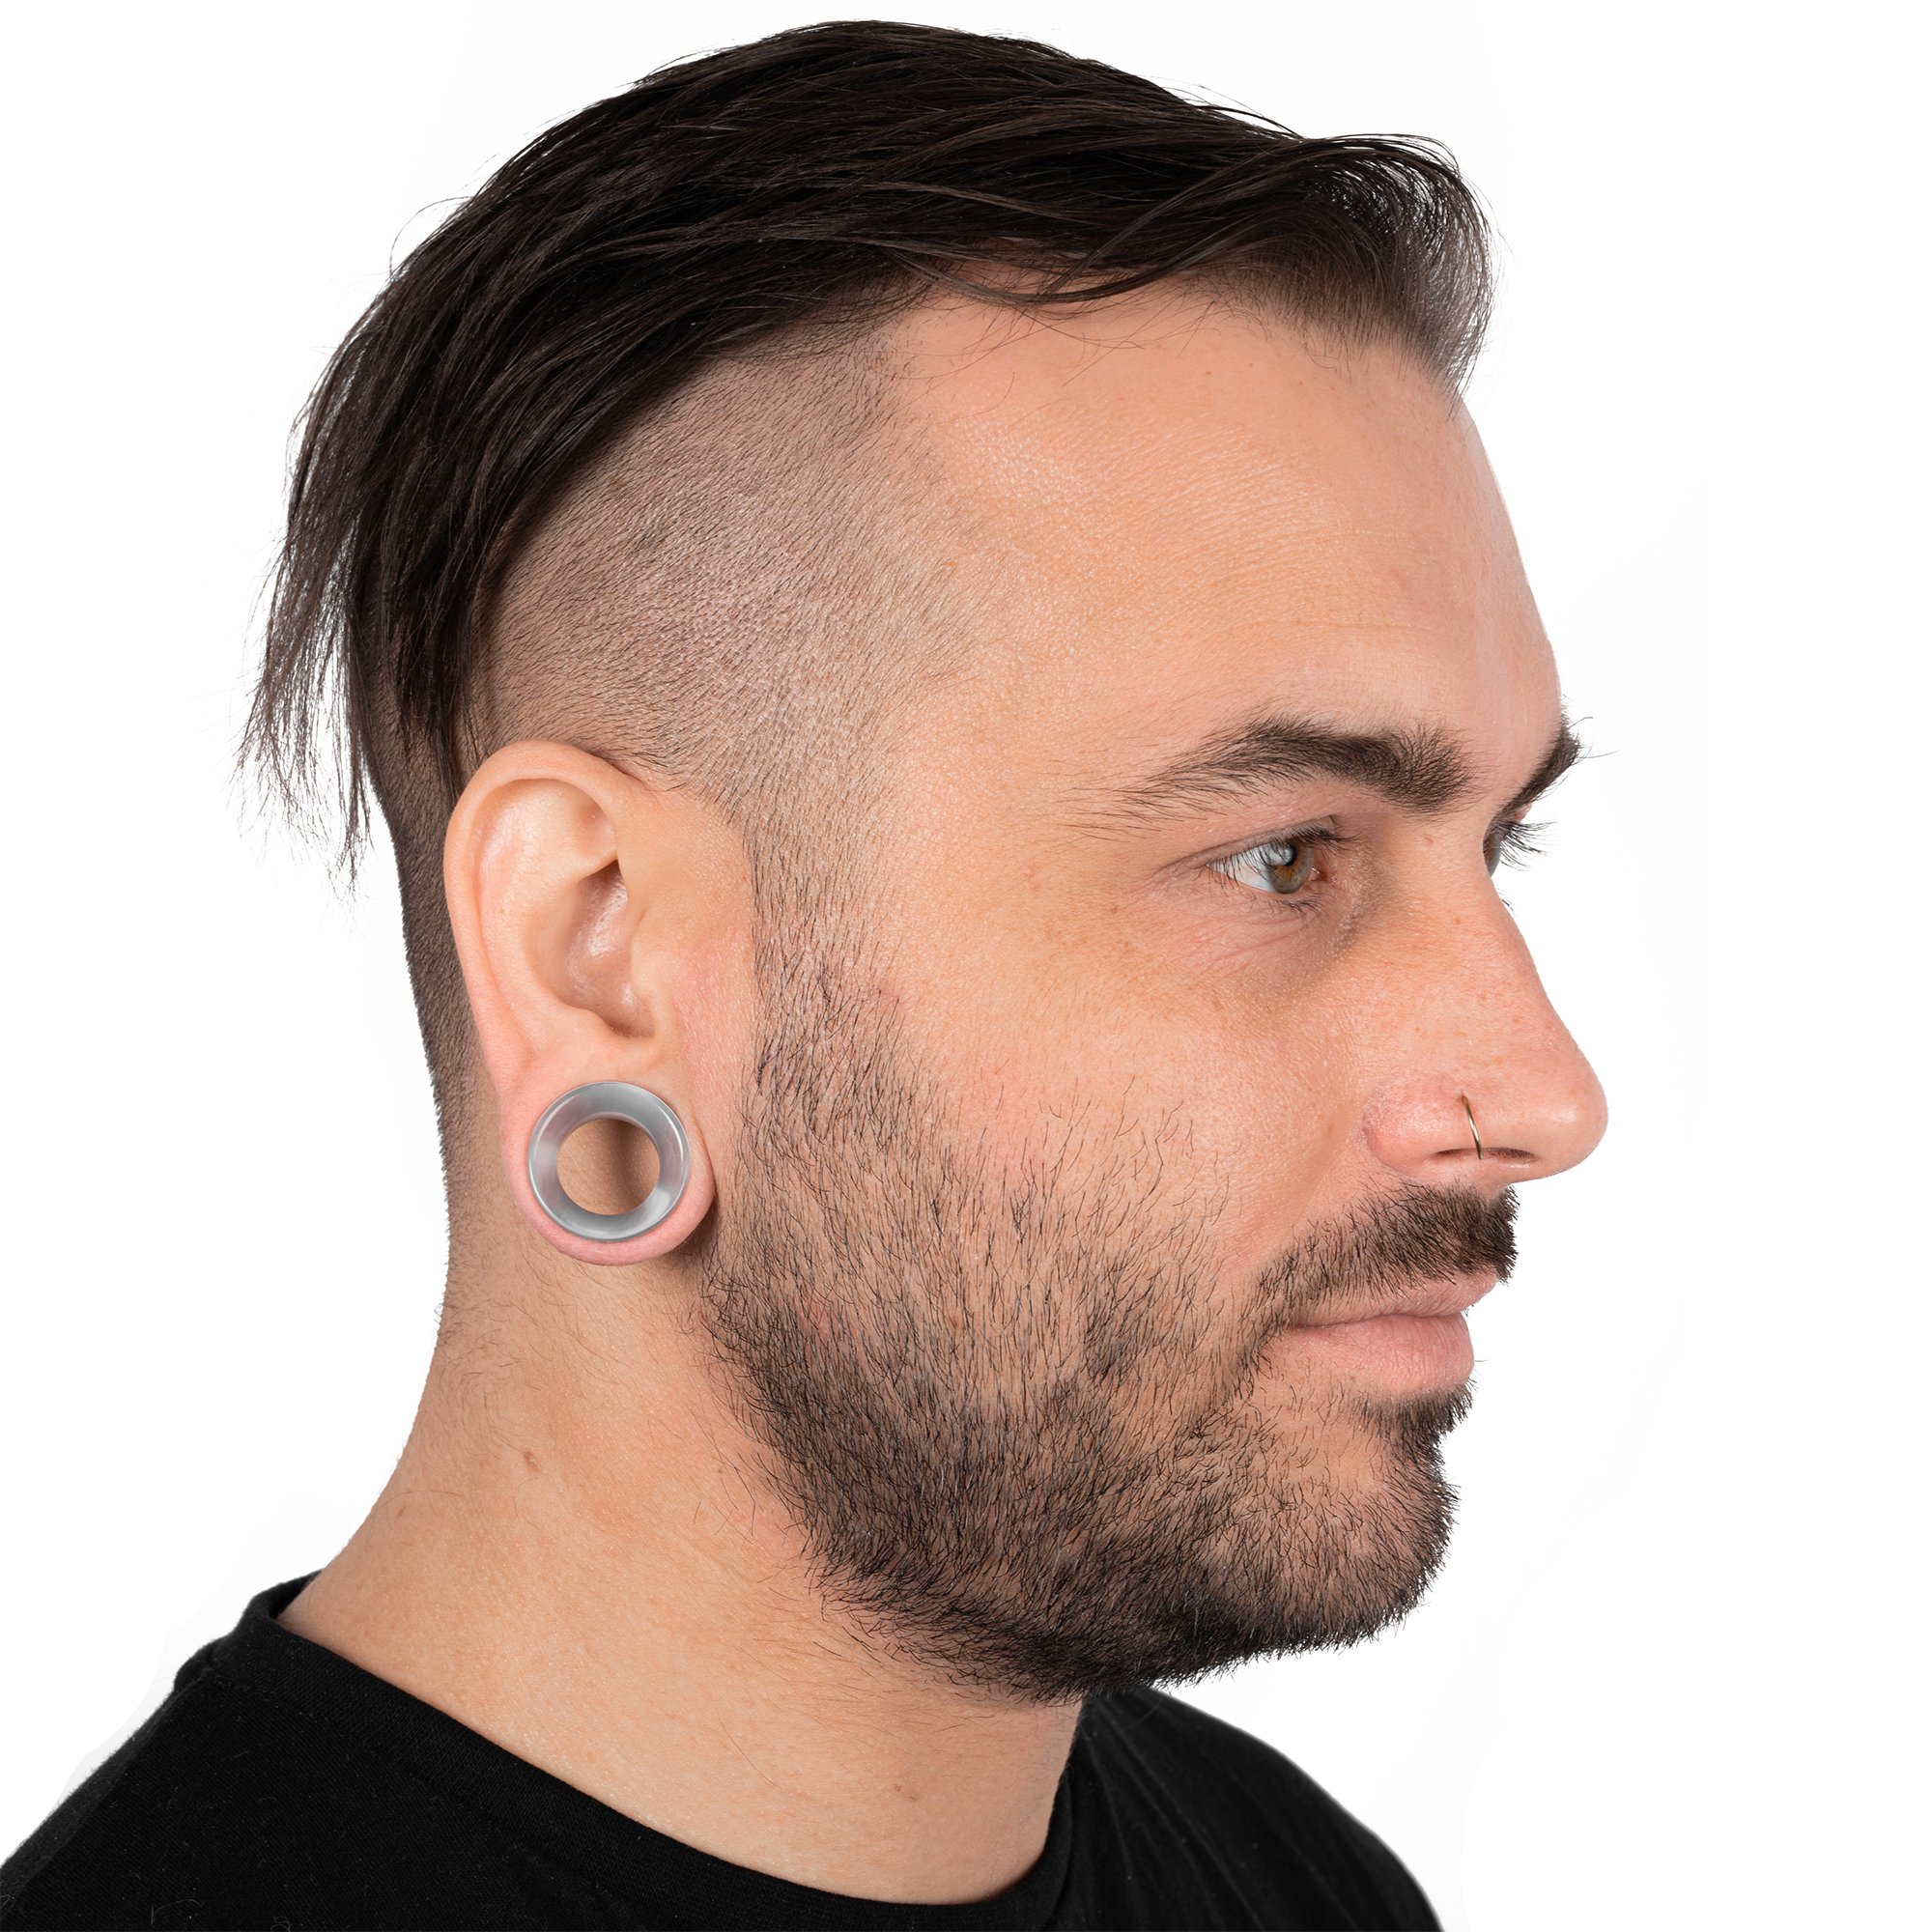
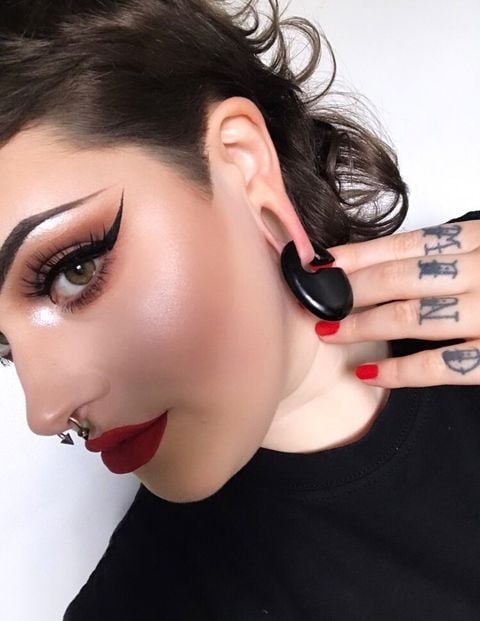
The practice seeks to widen the 'earring hole' over time such that there is space to put in a certain kind of jewellery. You may have seen people with stretched ears with round tunnel-like earrings in their ‘earring hole.’
It looks cool when done well and is done by so few people that it immediately draws attention while making anyone look good.
How do you start ear stretching?
Start by making the initial earring hole. You will essentially experience a normal piercing. After that, you can go home and let the piercing heal.
NOTE: You should always make sure that you go to a licensed piercing establishment to ensure that you receive healthy and expert care to avoid side effects. Tattooists and estheticians have the training to do this too, so check them out if you don't find a good piercing specialist.
While the piercing heals, you can research anything else you need to know about, but from that point on, your next thought should be the equipment you will need.
If you already have your ears pierced and have a piercing ready to go, you can start with a basic taper starter kit. Most people start stretching their ears at 14 g (gauge), which is only a little wider than a regular earring.
For those who have only recently healed from a piercing, the starting point should be 16g, just to be on the safe side. We do not use the term slow stretching because it doesn't make sense. Why? There is only one way to stretch your ears safely- slowly!
Some interested people may have already stretched their piercing a bit, either by wearing heavy earrings for a long time or having the piercing done bigger by request. We recommend finding out how big your piercing is and picking the next logical gauge to start with.
What you need
To get started, you will need:
Lubricant

The lubricant will make everything slide over each other smoothly. You will have less trouble getting the taper into the ear when it is lubricated. Moreover, the moisture the lubricant creates in and around the piercing makes it easier to heal and prevents scarring or breaking.
We recommend using basic oils (the kind with very few ingredients and not overly processed) like plant oils, for instance (coconut, argan, olive, jojoba).
Tapers

Ear tapers are the spiky things you insert in the piercing to start stretching out the skin. They come in various tapers gauges (measurements), which you can use to track where your diameter has reached any given moment and also a sensible way to scale up as you increase the size.
Most of the best tapers are made using stainless steel or glass. It is advised to use stainless steel since it is non-reactive, non-porous (to curb the smell of dead skin cells that could accumulate in a porous material), and easier to slide through the piercing.
Avoid buying cheap spiral tapers for stretching since they are usually of unspecified quality and may affect how well and quickly you heal.
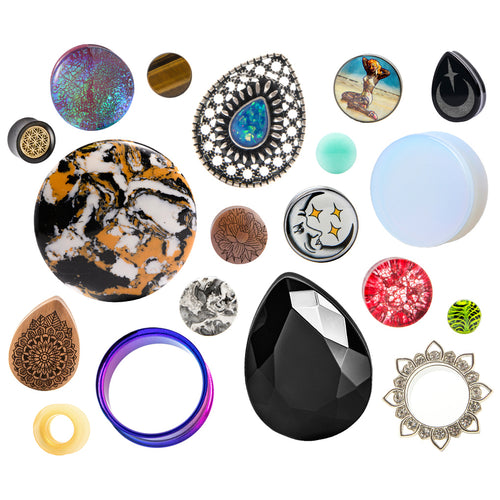
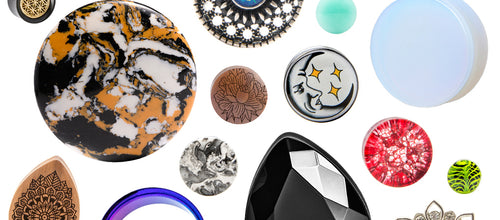
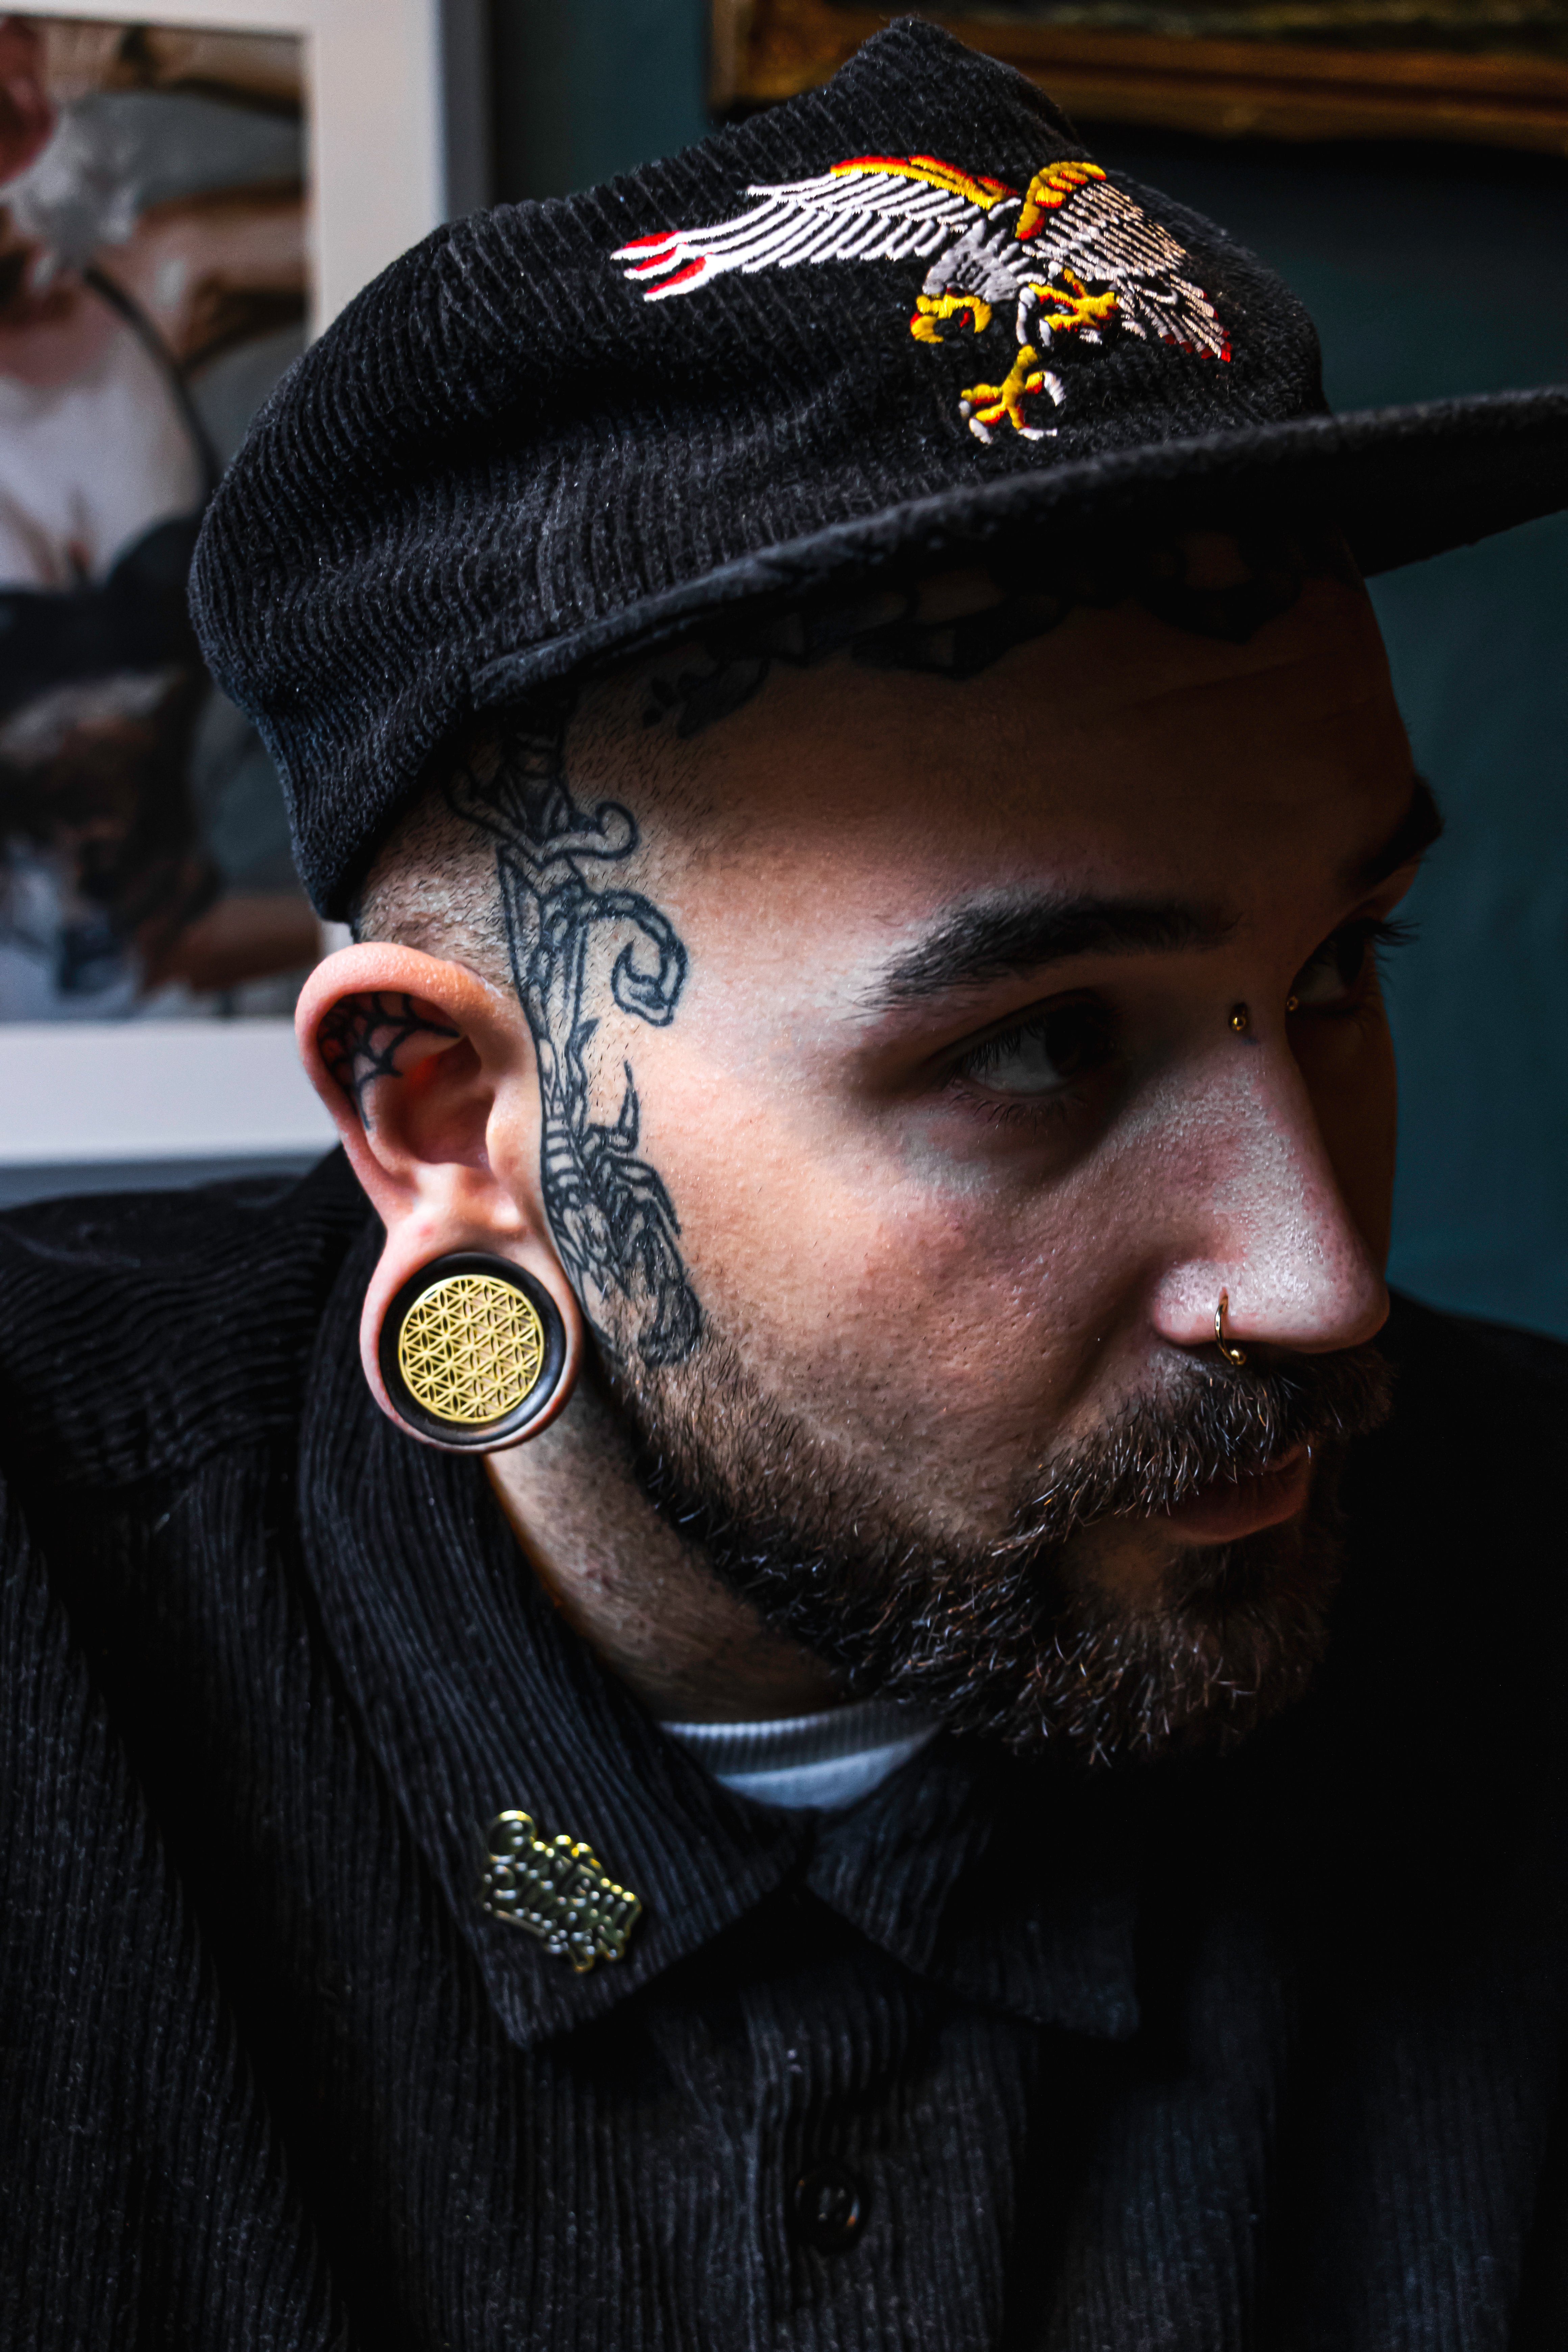
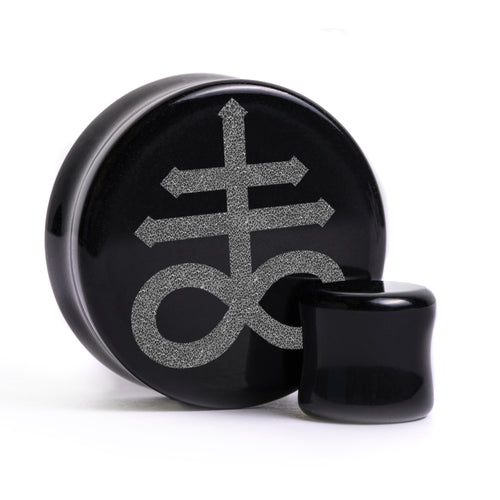
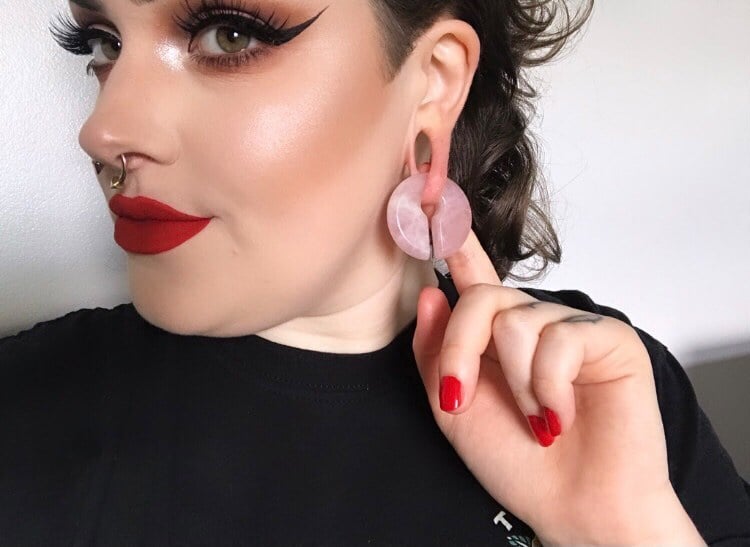
Plugs

The round jewellery you insert into the piercing to keep the ear stretched is what we call a plug. They are made using different types of material, each with its perks and downsides.
Steel- It is durable and doesn't accumulate as many dead skin cells on it.
Titanium- Closely related to steel in terms of ideal plug properties, titanium is lighter and less likely than any material to irritate the earlobe.
Silicone- Though hypoallergenic, this material may tend to smell due to dead skin cells accumulation if not cleaned frequently.
Organic- Glass, polished stone, finished wood, and other non-artificial materials are often available in this category.
Many plugs have flared sides that make it easy to be pushed into the piercing and stay.
Performing the stretch - Using Insertion Tapers

Now that you’ve collected everything, know what to do and are ready with a target in mind, let’s get right in and start stretching.
- You have to make sure that the ear has fully healed- There should be no itching, swelling, or discharge coming from the ear. Fully healed means as good as the rest of you.
- Massage the earlobe- Before you start fiddling with the ear, you must make sure it is warm and stretched out. You can take a hot bath to get the blood flowing. It makes the process easier.
- Scrub your hands thoroughly- Use soap and running water.
- Sterilise everything- All the stuff you are going to use should be disinfected. Pretend you are in a CDC lab (it's not that serious, but it's fun!)
- Lubricate- Apply the oil on your piercing and the taper (cover it in oil!).
- Push- By that, we mean the taper through your piercing. Insert the thin end first. Move very slowly. If you experience discomfort, you have done too much. On the skin surface, middle, and end of this, you should not feel pain. Maybe a little tautness, but only very little (like so little you won't notice it, kind of like wearing an inconspicuous hat that you forget is there).
- Place the plug at the thicker end of your taper so that it can be inserted into the hole immediately you push through. Put the plug into the hole once the taper has gone all the way through.
Ear care after stretching
Waiting- that is going to be most of what you do in terms of care. You have to make sure that you do not ever try stretching before the time is right. The most crucial aspect to keep in mind about stretching is that if you do it too fast, you could damage your ears in such a way that reducing them to a smaller size later may prove to be near impossible.
Here are some of the tips we recommend to anyone who has the desired gauge in mind they're working toward:
- Clean the piercing at least twice every day with warm water and hypoallergenic soap
- The earlobes should be soaked twice a day in warm, clean water containing ¼ teaspoon of salt for every 1 cup of water. If you do not excel in DIY, you could also buy saline solution.
- Massage the earlobes at least once a day. Do not do it too often during the day, but if you feel like the ears are a bit cold, you can get some heat back in them by rubbing or massaging.
- We say you should wait 4-8 weeks between gauges, but those numbers are not set in stone. We recommend a minimum of six weeks since some people might call it too early. If it takes longer for you, that's fine. Just don't rush it.
- Take care not to touch your piercings with dirty hands. Disinfect anything that regularly touches your ears to ensure no bacterial infections occur.
- The odour should not scare you. When the ear is gauged, it can smell a bit because of the dead skin cells your body can’t get rid of because of a lack of space. The odour is normal and should disappear when you clean. If it does not, see a doctor.
You should not experience too much redness or swelling. If you are, then something isn’t right. Done correctly, this whole thing should not be that much of a hassle.
Side effects to keep in mind
Stretching too fast, we have insisted, is not good for your ears. It can cause something called a blowout, which we covered in great detail in our article about blowouts.
Another thing that could happen when you stretch too fast is the ear could fail to go back to a less stretched position when you take out the tapers gauges.
Some of the symptoms that indicate you could have an infection include;
- Bleeding from the piercing
- Lymph node swelling
- Fever
- A discharge from the piercing
- Painful redness/swelling
In case you experience these symptoms, see a doctor.
Conclusion
Some of you may be wondering, 'what if I change my mind?'
Well, don't worry too much about that. As long as you stretch safely and do not exceed tapers gauges that stretch the earlobes beyond the elastic point, you should be able to get your lobes back to a smaller size than what you stretched them to.
It is not guaranteed that you will get back to a normal size every time. If your ears go past the point of no return, they can be fixed using minor surgery. Because this procedure is cosmetic, it is not covered by insurance.
Be patient while using stretching kits for ears, stay clean, and follow the steps closely while consulting with experts who know better than you. If anything feels off, see a doctor.
BESTSELLERS


Black Silicone Tunnel / Plug / Gauge
from
£3.00
-v1657710003014.jpg?512x640)

-v1659606134061.JPG?5760x3840)

Glass Opalite Plug / Gauge
from
£6.00


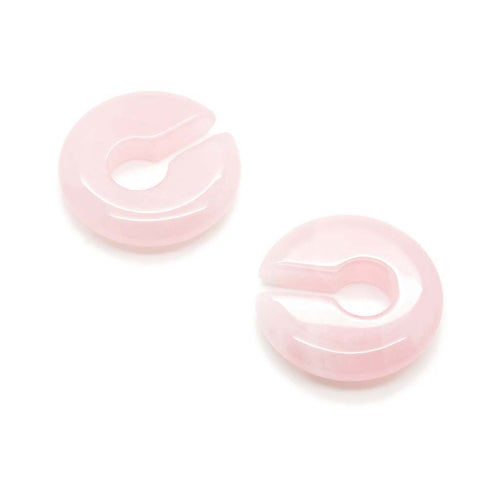
Rose Quartz Plug / Gauge
from
£6.00


Amethyst Plug / Gauge
from
£6.00


Black Onyx Plug / Gauge
from
£8.00

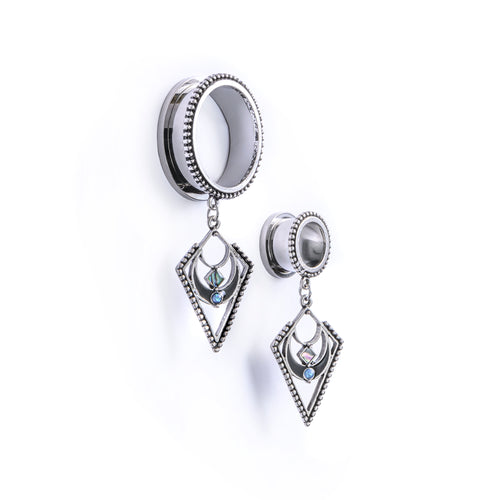
Triad Dangle Plug / Gauge
from
£9.00


Gold V Saddle Plug / Tunnel / Gauge
from
£12.00
-v1659606656877.JPG?3508x5262)


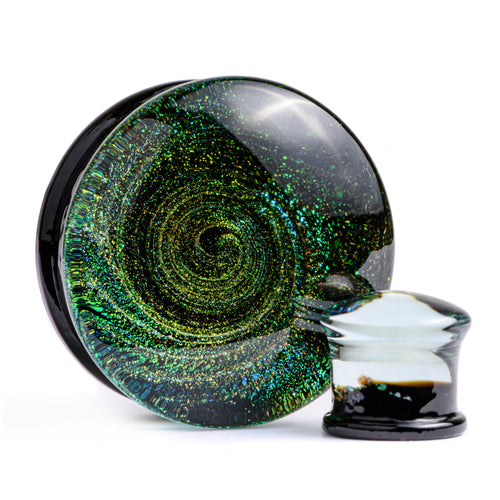
Blue & Green Iridescent Plug / Tunnel / Gauge
from
£11.00


Black Ebony Convex Plug / Gauge
from
£9.00


Sono Teardrop Abalone Plug / Gauge
from
£12.00

Infinity Dichroic Glass Plug / Gauge
from
£8.00


Blue Goldstone Plug / Gauge
from
£7.00

Grey Cats Eye Plug / Tunnel / Gauge
from
£9.00

Brass Flower Of Life Plug / Gauge
from
£10.00


Tiger Eye Plug / Gauge
from
£9.00


Gold Mosaic Abalone Plug / Gauge
from
£9.00
-v1655735577738.jpg?480x640)

Pearl Silicone Tunnel / Plug / Gauge
from
£3.00
£5.00
SALE


Duo Pearlescent White & Teak Plug / Gauge
from
£9.60
£12.00
SALE


Duo Dark Magenta & Teak Plug / Gauge
from
£9.00
£12.00
SALE
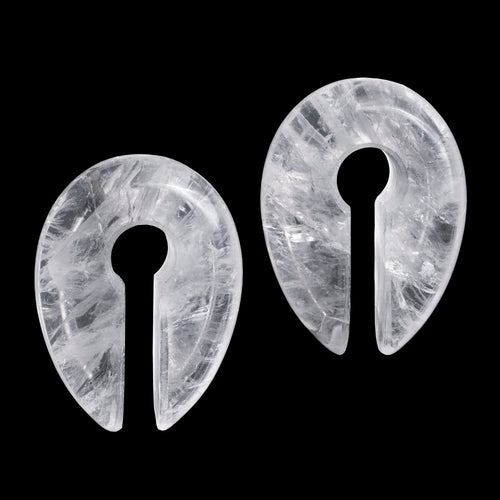
Rose Quartz Stone - Circular Keyhole Ear Weights (Pair)
from
£16.00
£20.00
SALE


Feather Dangle Plug / Gauge
from
£6.00
£8.00
SALE


FU2 Heart Hoodie
£34.99
-v1649319637906.jpg?960x1280)

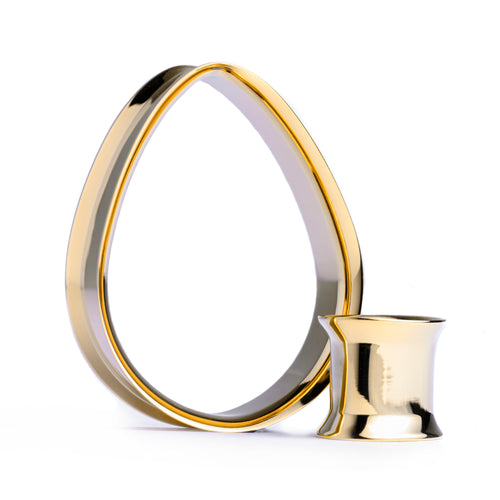
Pyramid - Brass Ear Weights (Pair)
from
£40.00


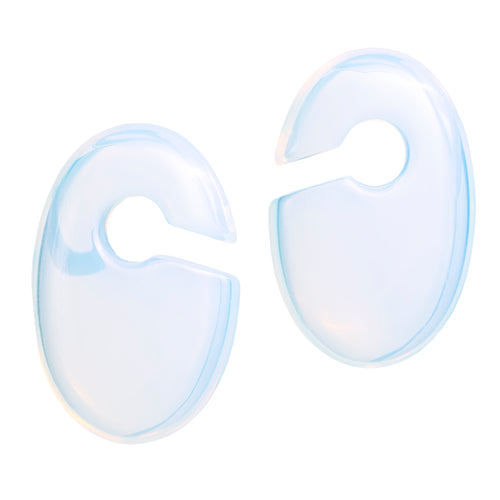
Opalite Glass - Oval Keyhole Ear Weights (Pair)
from
£15.00
£20.00
SALE


Steel Sword Plug / Gauge
from
£9.00


Silver V Saddle Plug / Tunnel / Gauge
from
£12.00


Rainbow Fluorite Plug / Gauge
from
£9.00


Teardrop Amethyst Plug / Gauge
from
£9.00


Black Solid Silicone Plug / Gauge
from
£4.00


Black Coffin Plug / Gauge
from
£9.00

Gold Steel Teardrop Tunnel / Plug / Gauge
from
£9.00


Teardrop Glass Opalite Plug / Gauge
from
£10.00


Picasso Jasper Plug / Gauge
from
£8.00
-v1652780384796.jpg?1024x1280)

Opalite Single Flare Glass Plug / Gauge
from
£5.00


Marble Black & Red Stone Plug / Gauge
from
£9.00
-v1649148828489.jpg?960x1280)

Glass Opalite Saddle Plug / Gauge
from
£8.00


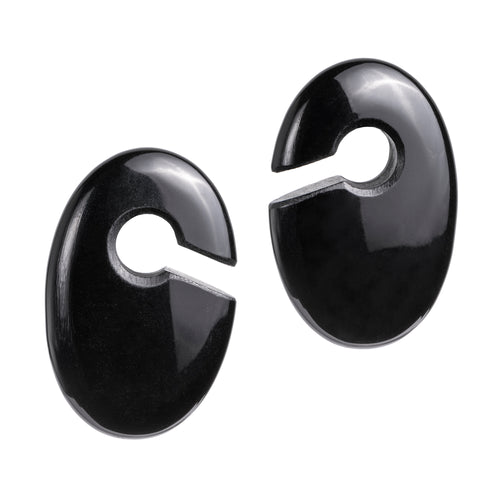
Black Onyx Tunnel / Plug / Gauge
from
£7.00


Amethyst Tunnel / Plug / Gauge
from
£8.00


Silver Steel Teardrop Tunnel / Plug / Gauge
from
£9.00